
If you want to create your own blog using wordpress ,that’s a good idea. First of all, we need a localhost (such as Apache, LiteSpeed, or IIS), PHP 4.3 or greater, and MySQL 4.0 or greater. Because wordpress requires a webserver to run website your syatem.
XAMPP is a simple, lightweight Apache distribution that makes it extremely easy for developers to create a local web server for testing and deployment purposes.
Read Also: How to Install XAMPP on Windows
How to Install WordPress using XAMPP
Here’s a quick 5 minute procedure to Install WordPress Offline. In order to run WordPress offline, you need an Apache server and MySQL database(PhpMyAdmin) installed on your system.
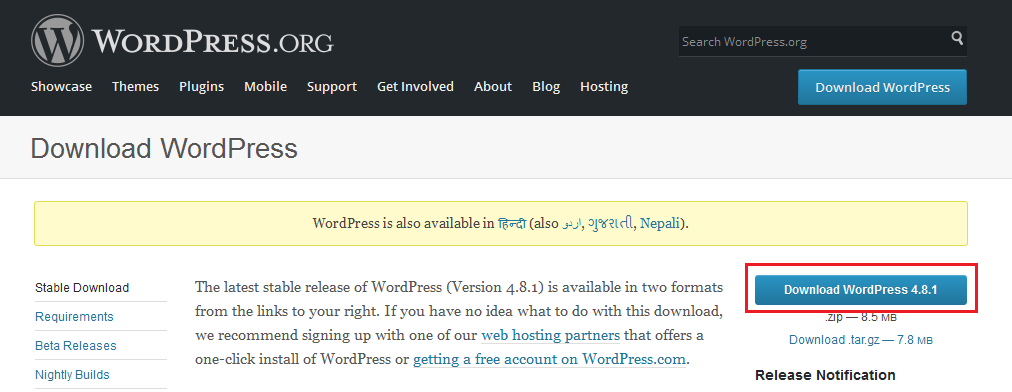
Step 1: Download WordPress .zip file
First, you need to go to wordpress.org and for download the latest version of WordPress.
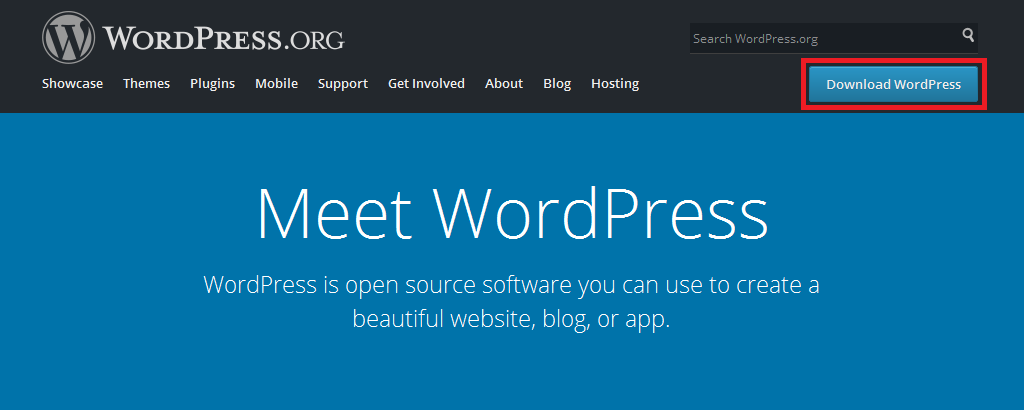
Now, download WordPress.
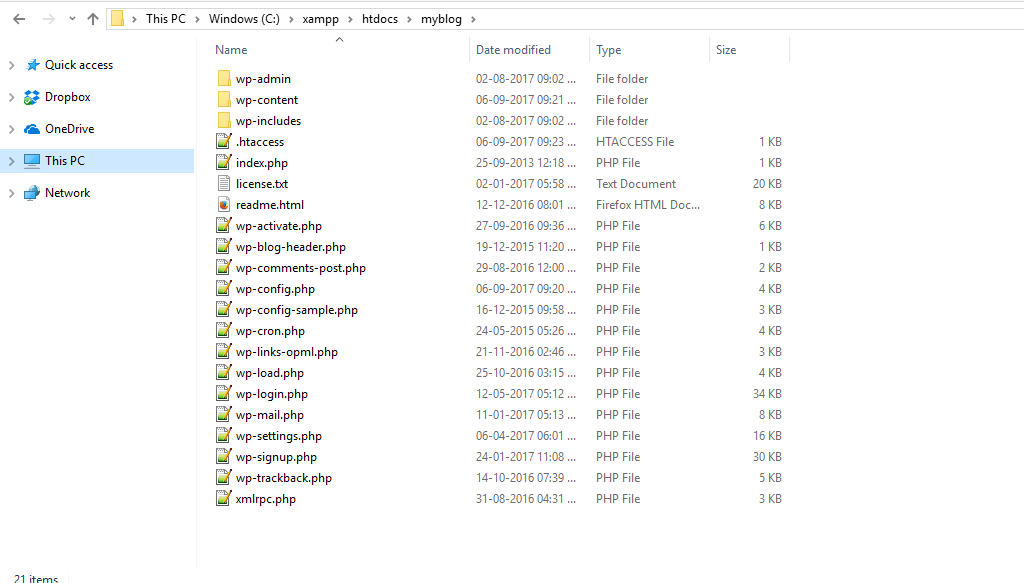
STEP 2: ADD THE WORDPRESS FILES IN THE RIGHT FOLDER
After downloading WordPress, you need to extract the zip file in the right folder, where you installed XAMPP, there you will find a folder by name htdocs, open it and create a new folder myblog. For example, if you make the folder myblog, you’ll access your site by going to http://localhost/myblog
Open the folder myblog and extract the WordPress .zip file you downloaded from wordpress.org into it:
STEP 3: CREATE A DATABASE FOR WORDPRESS
- Open XAMPP Control Panel
- MySQL – Click Admin for launch PHPMyAdmin
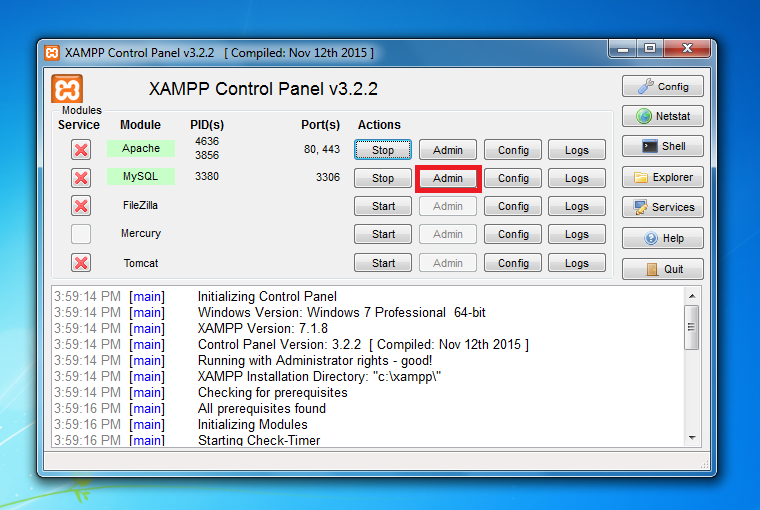
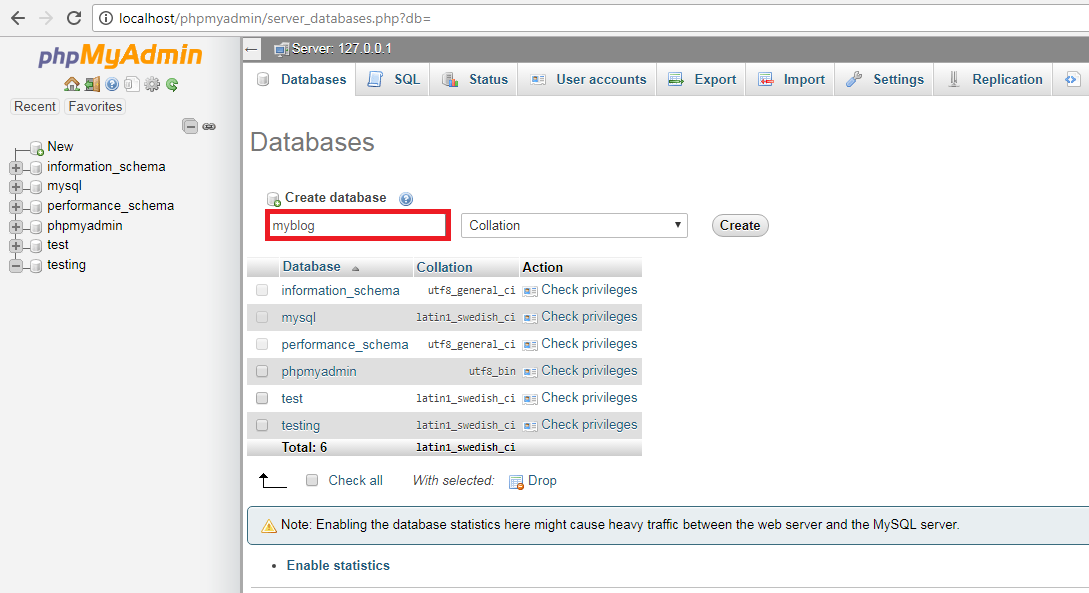
Then click on Databases at the top:

Create database and enter a name for your database and click Create. Your name can be anything – just remember it because you’ll need it for the next step:
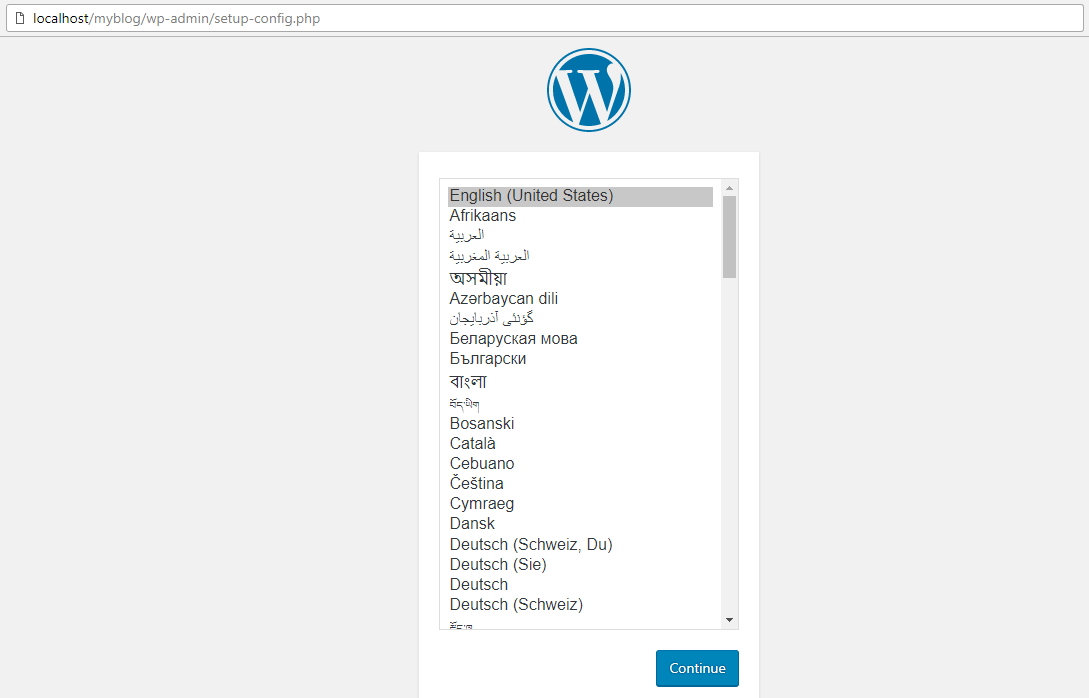
STEP 4: RUN THE WORDPRESS INSTALLER
Open your browser window and type http://localhost/myblog
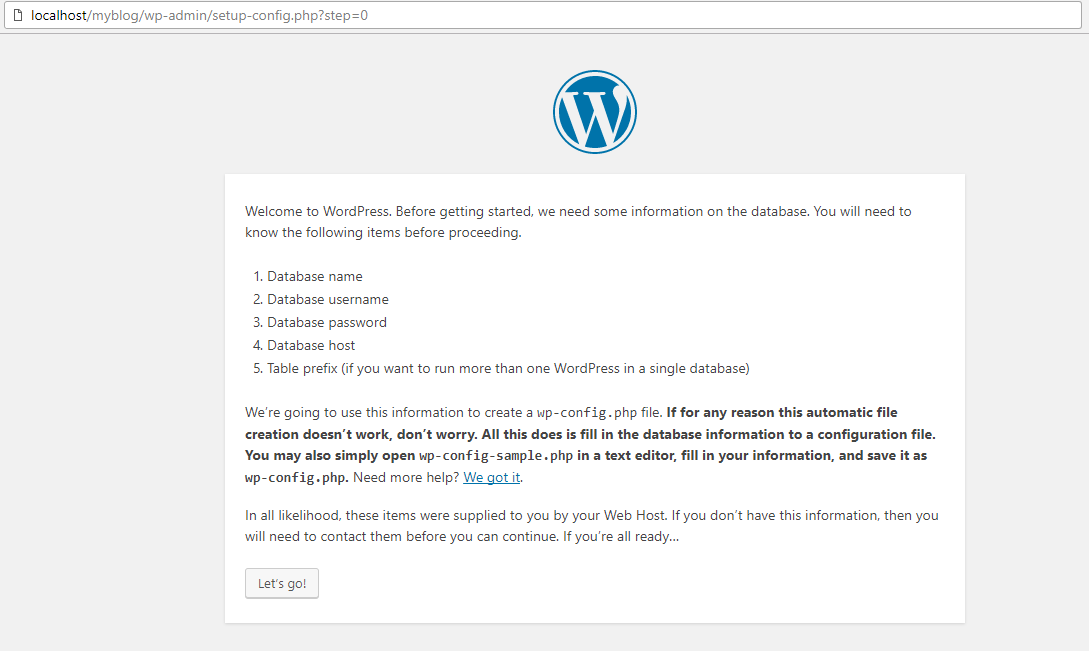
STEP 5: SETUP DATABASE FOR THE WORDPRESS INSTALLER
Before getting started, you need some information on the database like Database name, Database username, Database passwords, Database host, Table prefix.
when you haven’t created a MySQL username and password. In that case, you need to type in “root” for the user and leave the password field blank and click Submit.
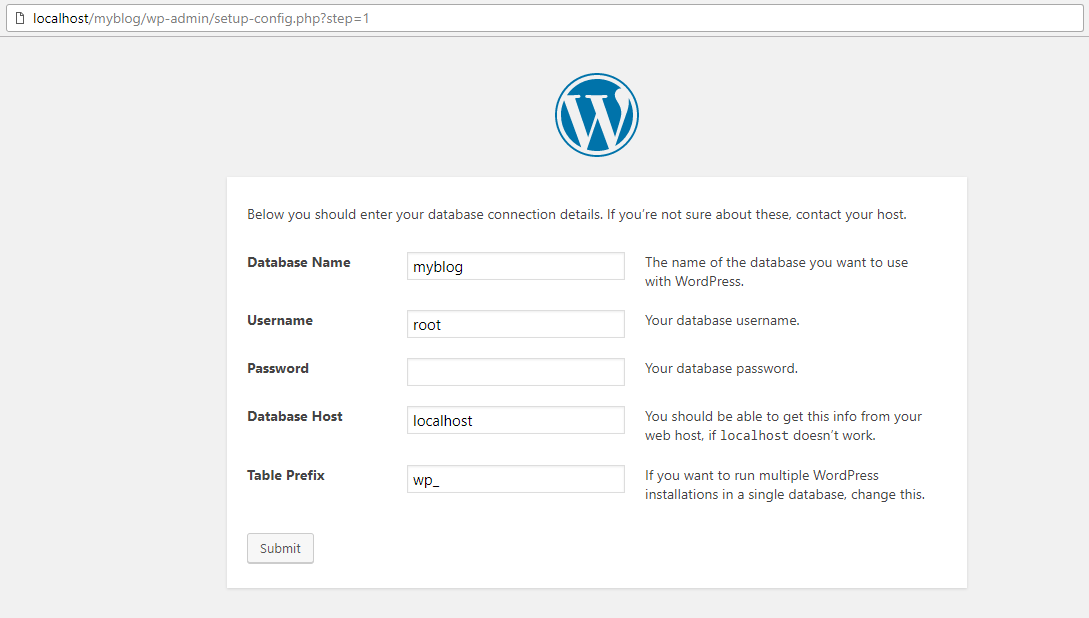
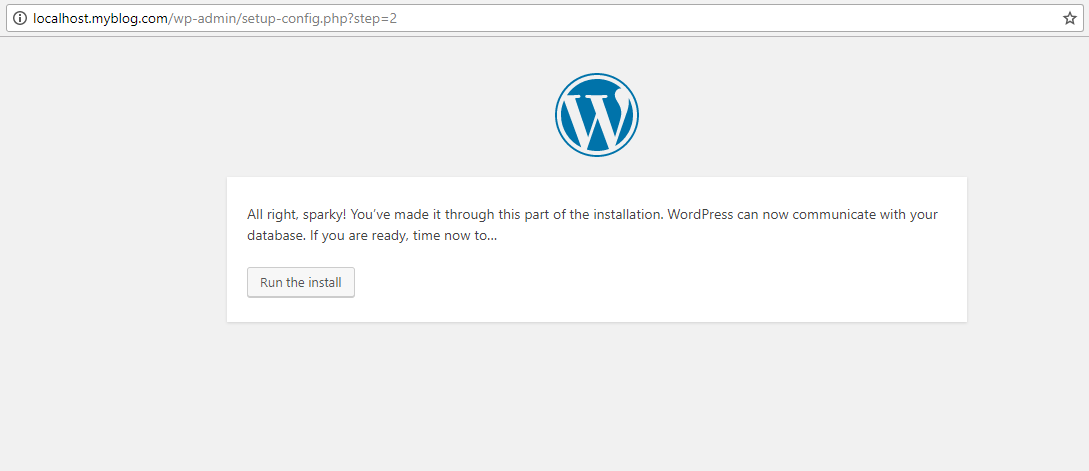
WordPress can now communicate with your database, and ready to install.
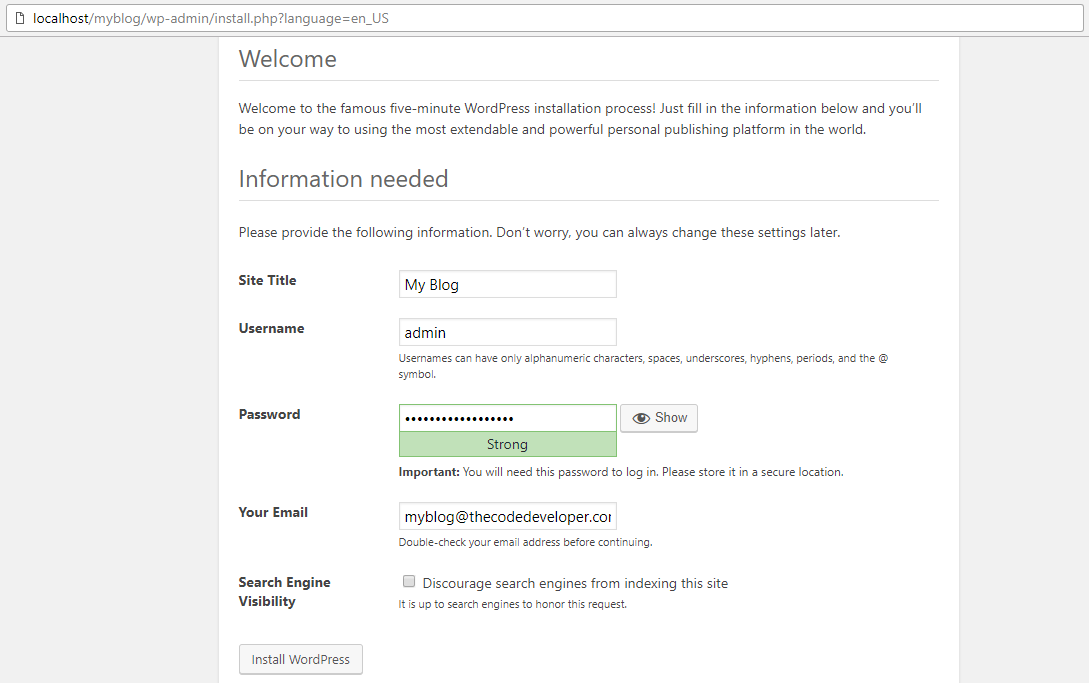
STEP 6: SETUP THE WEBSITE INFORMATION
In this step, enter a website title, username, password, and email address then submit
Now, you are successfully install WordPress.
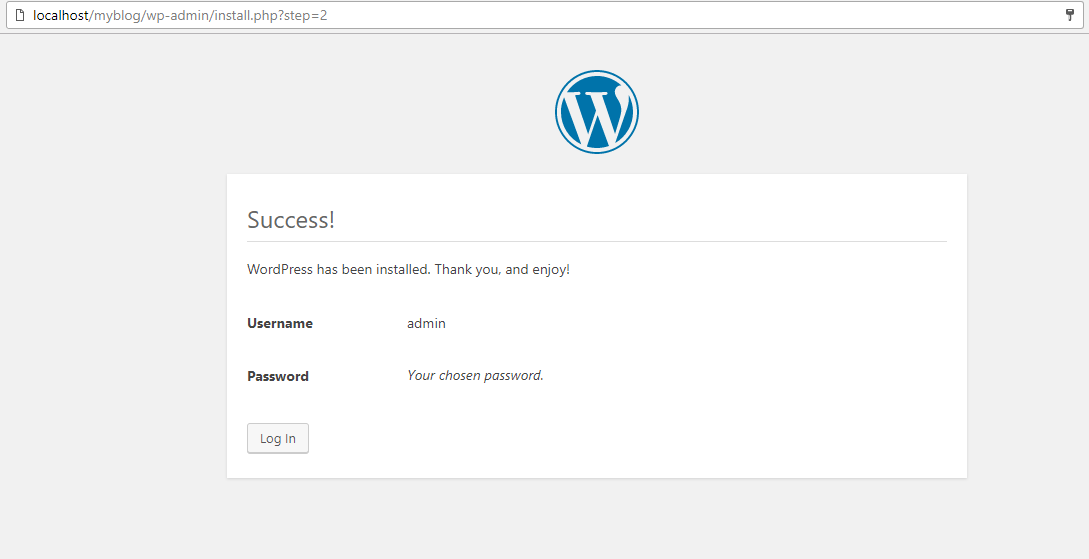
Good job, You now have a fully functional WordPress website running on your computer.